The Missing Django-All-Access Tutorial
25 JULY 2017The code for this tutorial is in: https://github.com/GdMacmillan/django-all-access_tutorial
This post is for people who are looking for a django-all-access tutorial if, for whatever reason, allauth is not able to meet your needs as an 3rd party app for authentication backend, registration and account management.
Recently I started building authentication into my application. I looked around and couldn’t come up with a good tutorial on how to use django-all-access. I found several for allauth including a great post by Sarah Hagstrom, which served as the impetus for a post of my own.
I had already started building up my application with django-all-access, which is why I decided to stick with this package instead of switching to allauth. Still, I needed a testbed and since I had completed the excellent tutorial from the Django docs, I figured that would be perfect.
I’m assuming you are using python 3.6 and Django 1.11 for this tutorial.
Part 1 - Writing the App
In order to make this as explicit as possible, I’ll go ahead and run through the tutorial quickly. I’m not going to explain everything about this code. That is what the docs are for. Keep in mind the original tutorial has just a polls app that runs at localhost:8000/polls. For mysite, I went ahead and added a homepage view that can be accessed from locahost:8000 and links to the polls app. I also skipped the testing and reusability parts for clarity.
To start your project with django, run:
`django-admin startproject mysite`
cd into the mysite directory and create the polls app with:
`python manage.py startapp polls`
In the polls app, add the following imports and views to your views.py file:
    from django.shortcuts import get_object_or_404, render
    from django.http import HttpResponseRedirect
    from django.urls import reverse
    from django.views import generic
    from django.utils import timezone

    from .models import Choice, Question

    class IndexView(generic.ListView):
        template_name = 'polls/index.html'
        context_object_name = 'latest_question_list'

        def get_queryset(self):
            """
            Return the last five published questions (not including those set to be
            published in the future).
            """
            return Question.objects.filter(
                pub_date__lte=timezone.now()
            ).order_by('-pub_date')[:5]

    class DetailView(generic.DetailView):
        model = Question
        template_name = 'polls/detail.html'

        def get_queryset(self):
            """
            Excludes any questions that aren't published yet.
            """
            return Question.objects.filter(pub_date__lte=timezone.now())

    class ResultsView(generic.DetailView):
        model = Question
        template_name = 'polls/results.html'

    def vote(request, question_id):
        question = get_object_or_404(Question, pk=question_id)
        try:
            selected_choice = question.choice_set.get(pk=request.POST['choice'])
        except (KeyError, Choice.DoesNotExist):
            return render(request, 'polls/detail.html', {
                'question': question,
                'error_message': "You didn't select a choice.",
            })
        else:
            selected_choice.votes += 1
            selected_choice.save()
            return HttpResponseRedirect(reverse('polls:results', args=(question.id,)))
Next, fill in your urlConf by creating a file called urls.py in the polls directory. Add the following code to this file:
    from django.conf.urls import url

    from . import views

    app_name = 'polls'
    urlpatterns = [
        url(r'^$', views.IndexView.as_view(), name='index'),
        url(r'^(?P<pk>[0-9]+)/$', views.DetailView.as_view(), name='detail'),
        url(r'^(?P<pk>[0-9]+)/results/$', views.ResultsView.as_view(), name='results'),
        url(r'^(?P<question_id>[0-9]+)/vote/$', views.vote, name='vote'),
    ]
To create the models in polls/models.py, first write your imports:
    import datetime

    from django.db import models
    from django.utils import timezone
    from django.contrib.auth.models import User

    class Question(models.Model):
        question_text = models.CharField(max_length=200)
        pub_date = models.DateTimeField('date published')

        def was_published_recently(self):
            now = timezone.now()
            return now - datetime.timedelta(days=1) <= self.pub_date <= now

        was_published_recently.admin_order_field = 'pub_date'
        was_published_recently.boolean = True
        was_published_recently.short_description = 'Published recently?'

        def __str__(self):
            return self.question_text

    class Choice(models.Model):
        question = models.ForeignKey(Question, on_delete=models.CASCADE)
        choice_text = models.CharField(max_length=200)
        votes = models.IntegerField(default=0)

        def __str__(self):
            return self.choice_text

    class UserProfile(models.Model):
        user = models.OneToOneField(User, related_name='profile')

        def __unicode__(self):
            return "{}'s profile".format(self.user.username)

        class Meta:
            db_table = 'user_profile'

    User.profile = property(lambda u: UserProfile.objects.get_or_create(user=u)[0])
Add the following to polls/apps.py:
    from django.apps import AppConfig

    class PollsConfig(AppConfig):
        name = 'polls'
Add the required registrations to enable adding questions in the admin interface. This is done by adding the following to polls/admin.py:
    from django.contrib import admin

    from .models import Question, Choice

    class ChoiceInline(admin.TabularInline):
        model = Choice
        extra = 3

    class QuestionAdmin(admin.ModelAdmin):
        fieldsets = [
            (None,               {'fields': ['question_text']}),
            ('Date information', {'fields': ['pub_date'], 'classes': ['collapse']}),
        ]
        inlines = [ChoiceInline]
        list_display = ('question_text', 'pub_date', 'was_published_recently')
        list_filter = ['pub_date']
        search_fields = ['question_text']

    admin.site.register(Question, QuestionAdmin)
Nothing we have added so far has anything to do with 3rd party user auth. I will show you what to change for each file to add that later. Now, before we get to the html files, in the directory mysite/mysite (note: not the project root), add a views.py file. This will be the view for your homepage and will be super basic:
    from django.views.generic.base import TemplateView

    class HomePageView(TemplateView):
        template_name = 'home.html'
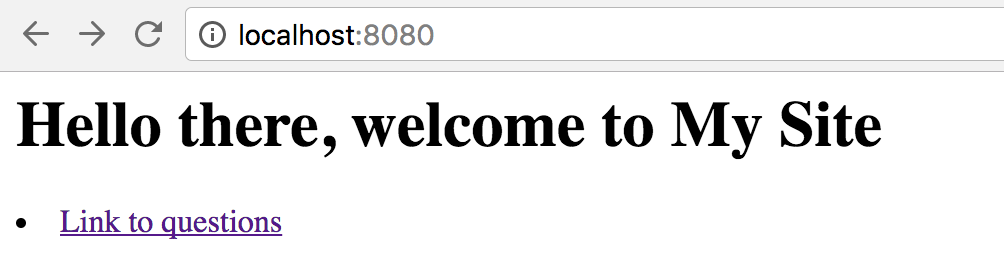
While we are in mysite/mysite, We can add a templates directory and to the templates directory a file called home.html with the following:
    <h1>Hello there, welcome to My Site</h1>
    <li><a href="{% url 'polls:index' %}">Link to questions</a></li>
Go ahead and edit the mysite/urls.py. This should include the following:
    from django.conf.urls import include, url
    from django.contrib import admin
    from .views import HomePageView

    urlpatterns = [
        url(r'^$', HomePageView.as_view(), name='homepage'),
        url(r'^polls/', include('polls.urls', namespace='polls')),
        url(r'^admin/', admin.site.urls),
    ]
Now, lets adjust our settings just a bit. The following should be pretty close to the default settings from the startapp command. I changed to a postgres database by changing/adding the following in settings.py:
    DATABASES = {
        'default': {
            'ENGINE': 'django.db.backends.postgresql_psycopg2',
            'NAME': 'mysite',
        }
    }
For the default admin, add the following authentication backends:
    AUTHENTICATION_BACKENDS = [
        # Default Backend
        'django.contrib.auth.backends.ModelBackend',
    ]
Next set the following environment variable: PROJECT_ROOT = os.path.dirname(os.path.abspath(__file__))
And make the templates directory available to the app by changing dirs in the TEMPLATES settings variable:
    TEMPLATES = [
        {
            'BACKEND': 'django.template.backends.django.DjangoTemplates',
            'DIRS': [os.path.join(BASE_DIR, 'templates'),
                     os.path.join(PROJECT_ROOT, 'templates')
                     ],
            'APP_DIRS': True,
            'OPTIONS': {
                'context_processors': [
                    'django.template.context_processors.debug',
                    'django.template.context_processors.request',
                    'django.contrib.auth.context_processors.auth',
                    'django.contrib.messages.context_processors.messages',
                ],
                'debug': DEBUG,
            },
        },
    ]
Finally add the line 'polls.apps.PollsConfig', to the list of installed apps.
Now all we need is a templates and static files directory for the polls app. Go ahead and make those now. In both of these directories add an additional folder called polls. In the directory polls/static/polls create the file style.css. In this file add this basic styling:
    li a {
        color: green;
    }

    .logged-in {
        background: gainsboro url("/static/img/CCTVMobile.jpg") no-repeat center 80px;
    }

    .logged-out {
        background: gainsboro url("/static/img/what_are_you_looking_at.jpg") no-repeat center 30px;
        background-size: 90%;
    }

    }
    .pull-right {
        float:right;
    }
In polls/templates/polls add the following 3 templates:
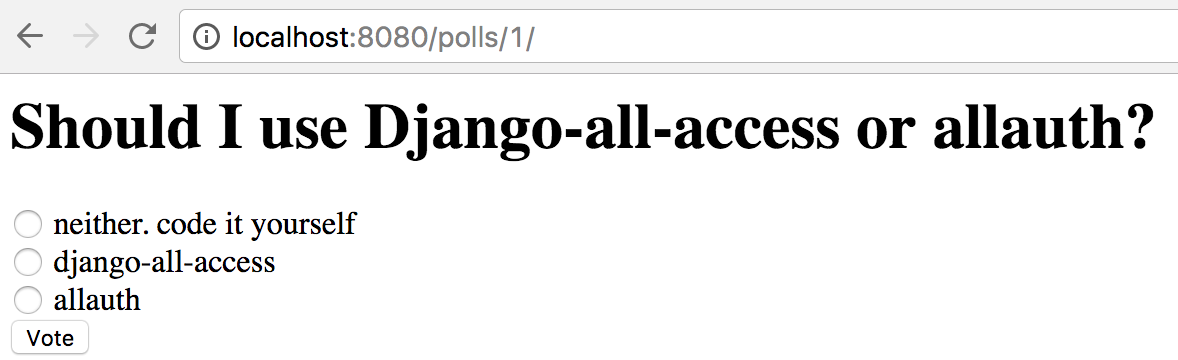
detail.html
    <h1>{{ question.question_text }}</h1>

    {% if error_message %}<p><strong>{{ error_message }}</strong></p>{% endif %}

    <form action="{% url 'polls:vote' question.id %}" method="post">
    {% csrf_token %}
    {% for choice in question.choice_set.all %}
        <input type="radio" name="choice" id="choice{{ forloop.counter }}" value="{{ choice.id }}" />
        <label for="choice{{ forloop.counter }}">{{ choice.choice_text }}</label><br />
    {% endfor %}
    <input type="submit" value="Vote" />
    </form>
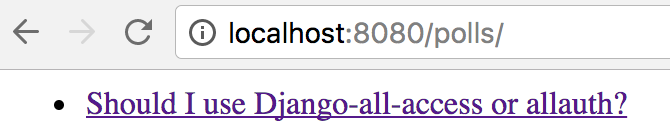
index.html
    <div>
        {% if latest_question_list %}
        <ul>
            {% for question in latest_question_list %}
            <li><a href="{% url 'polls:detail' question.id %}">{{ question.question_text }}</a></li>
            {% endfor %}
        </ul>
        {% else %}
        <p>No polls are available.</p>
        {% endif %}
    </div>
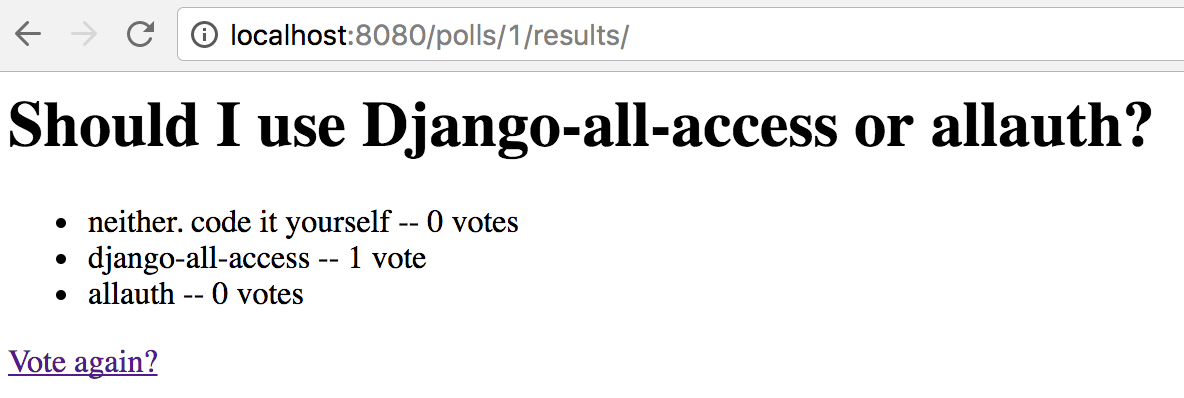
results.html
    <h1>{{ question.question_text }}</h1>

    <ul>
    {% for choice in question.choice_set.all %}
        <li>{{ choice.choice_text }} -- {{ choice.votes }} vote{{ choice.votes|pluralize }}</li>
    {% endfor %}
    </ul>

    <a href="{% url 'polls:detail' question.id %}">Vote again?</a>
In order to run our site we will first need to create the database. Make sure postgres is running and go ahead and open the psql command line. Once there run CREATE DATABASE mysite. This creates the mysite database. Quit out of psql and run python manage.py makemigrations polls to create migration of your polls app. Now run python manage.py migrate to create those tables in your database.
After the migrations have completed you can do one of two things. Run python manage.py createsuperuser to create the super-user account which will manage your database. If all goes accordingly you should see Superuser created successfully.
Or, you can go straight to running the app with python manage.py runserver. Keep in mind you will need to create a super-user account in order to set up some questions with appropriate choices.
With my site running locally and a question in the database, I see the following when I move through an example flow:
Part 2 - Adding Authentication
Django all-access is a helpful third party if you want to build some easily customizable and robust authentication measures into your web or mobile app. I am by no means an expert in this space but I regarded the tutorial and documentation as accessible enough to integrate. It abstracts away several base Oauth classes and is built on the handy requests library so it integrates well with other third party applications built around administration and authentication with django.
My tutorial is going to use Strava’s API as an example. Handshake is done using the OAuth 2.0 protocol. My application is registered on their site but for all intents and purposes, I will not be sharing the details of that registration.
To install the application, run pip install django-all-access. One point to note: if you haven’t been using a virtual environment up until this point, now is a good time to learn. I am using a anaconda to manage my python 3 environment.
You need to add the allaccess app to your settings file as well as the additional authentication backend. To do this go into setting and add 'allaccess', to list of installed apps. Then, add 'allaccess.backends.AuthorizedServiceBackend', to authentication backends. Also, to be explicit, define the following 2 environment variables:
    LOGIN_URL = '/'

    LOGIN_REDIRECT_URL = '/'
These should be set to valid URL's for your site.
Next, consider your url patterns. We need to add a line to include the default account url’s. Add the following lines to your mysite/urls.py file:
    from django.contrib.auth.views import logout_then_login

    url(r'^accounts/', include('allaccess.urls')),
    url(r'^logout/$', logout_then_login, name='logout'),
Adding the accounts/ pattern will allow access to login url, /accounts/login/strava for example. Once the user has authenticated, they will be sent back to /accounts/callback/strava.
The only other step is to add the all access context processor to our list in the TEMPLATES variable. This should be done in settings as:
    'context_processors': [
        'django.template.context_processors.debug',
        'django.template.context_processors.request',
        'django.contrib.auth.context_processors.auth',
        'django.contrib.messages.context_processors.messages',
        'allaccess.context_processors.available_providers',
    ],
At this point we can migrate allaccess models which are defined in the app (the one that was imported, not explicitly in the models.py file). Do this by running python manage.py migrate allaccess from the command line.
Next we need to configure our common providers. To get started there is an initial fixture of common providers. We can load this by running python manage.py loaddata common_providers.json. If you look at the common_providers.json file, you’ll notice that the consumer id and secret are not provided. These will need to be added for whatever provider you are using. Since I am using Strava, I have provided a file in the fixtures directory called auth_providers.json. I set up a single provider, Strava with my consumer key and secret. Of course, I have anonymized this data but fill in with your values from your Strava Application and you should be good to go. The same can be done for Facebook, Twitter, etc. To load this data run:
`python manage.py loaddata auth_providers.json`

For more information, see the [django-all-access docs](https://django-all-access.readthedocs.io/en/latest/providers.html)
Next, we will change our Index view to incorporate the login. Let’s first add the appropriate changes to the index.html file. We will add logic to show the status of our user in the header of our page. Then, we will change the index page to show a Login link if the user needs to Login and alternatively a Logout link for when the user is ready to logout. We will mask the questions list display behind this Logged in condition so if a user is not logged in they will not be able to proceed. The following is my code for all of this:
    {% load static %}
    <head>
        <title>{% if request.user.is_authenticated %}Logged In{% else %}Not Logged In{% endif %}</title>
        <link rel="stylesheet" type="text/css" href="{% static 'polls/style.css' %}" />
    </head>

    <body class="{% if request.user.is_authenticated %}logged-in{% else %}logged-out{% endif %}">
        {% if request.user.is_authenticated %}
        <a href="{% url 'logout' %}" class="pull-right">Logout</a>
        {% if info.firstname or info.lastname %}
        {{ info.firstname }} {{ info.lastname }}
        {% else %}
        {{ info.id }}
        {% endif %}

        {% else %}
        <a href="{% url 'allaccess-login' 'strava' %}" class="pull-right">Login</a>
        {% endif %}
        {% if request.user.is_authenticated %}
        <div>
            {% if latest_question_list %}
            <ul>
                {% for question in latest_question_list %}
                <li><a href="{% url 'polls:detail' question.id %}">{{ question.question_text }}</a></li>
                {% endfor %}
            </ul>
            {% else %}
            <p>No polls are available.</p>
            {% endif %}
        </div>
        {% else %}
        {% endif %}
    </body>
Now, in the polls/views.py file, add the following method to the IndexView class:
    def get_context_data(self, **kwargs):
        context = super(IndexView, self).get_context_data(**kwargs)
        if self.request.user.is_authenticated():
            try:
                access = self.request.user.accountaccess_set.all()[0]
            except IndexError:
                access = None
            else:
                client = access.api_client

            context['info'] = client.get_profile_info(raw_token=access.access_token)
        return context
This is overriding the default get_context_data method and is requiring the user to authenticate themselves before the user_info variable will be stored.
There are other ways to do this but for our super simple example we will basically have the api queried every time the view is rendered. I’ll leave it to the reader to figure out how to save the users data to a database. If all goes well, when you log in, you should see something like this:
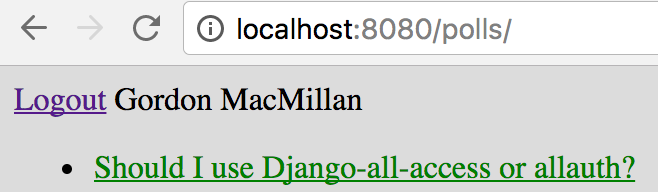
That’s it. your app is now registering a user’s strava information (or whatever provider you have configured). I hope this was clear and communicative. If you have any problems with this tutorial, please don’t hesitate to reach out or issue a comment on the github page.
Cheers - Gordon